A property inspection generates two things: observations and evidence. The observations live in the inspector's notes. The evidence lives in a camera roll — 40, 60, sometimes 120 photographs documenting defects, system conditions, and safety concerns at a specific moment in time.
Converting inspection photos into a single organized PDF bridges that gap and creates a document that buyers can act on, sellers can respond to, and agents can use in renegotiation. Here's how to do it with QuickyDesk's free Image to PDF tool.
Who Creates Inspection Photo PDFs
- Property managers — Move-in/move-out documentation. Courts consistently side with the party that has better documentation in security deposit disputes.
- Homebuyers and agents — Document pre-offer conditions or substantiate repair credit requests after inspection.
- Contractors — Pre-construction documentation of existing conditions protects against damage claims.
Photograph for Documentation Quality
Name photos sequentially before uploading so they compile in logical order:
01_ExteriorNorth_Overview.jpg02_ExteriorNorth_RoofFascia_Damage.jpg03_Entry_Ceiling_WaterStain.jpg
For every defect, take three shots: a context shot (shows location), a mid-range shot (shows size), and a close-up shot (shows nature of defect).
Converting Photos to PDF with QuickyDesk
Step 1: Complete Naming and Organization
Verify all photos are named sequentially before uploading. This is the step people skip and regret when the PDF comes out disorganized.
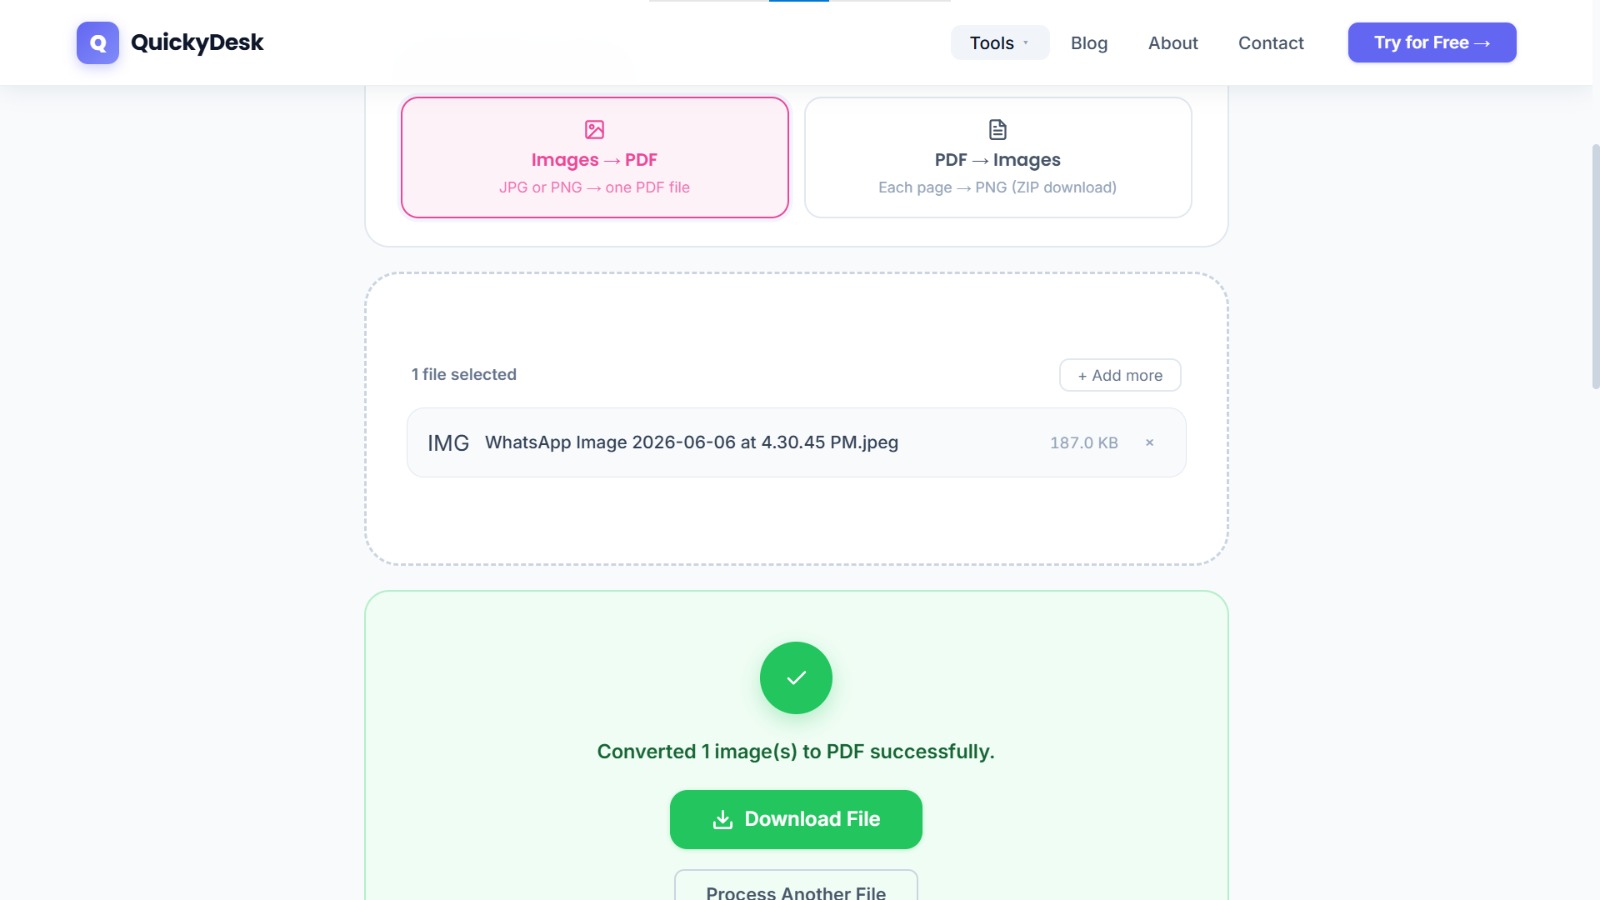
Step 2: Open the Convert Tool
Navigate to QuickyDesk's Convert tool and select the Image to PDF mode. The tool accepts JPG and PNG — both standard smartphone formats.
Step 3: Upload All Inspection Photos
Select all photos in one upload batch. Modern smartphones can produce 60–120 inspection photos; all can be uploaded together.
Step 4: Verify the Sequence
Review the file list. Because you've named files sequentially, they should appear in the correct order.
Step 5: Convert and Download
Processing time for a 100-photo inspection PDF is typically 45–90 seconds.
Step 6: Add a Cover Page and Merge
Create a cover page in Word or Google Docs including: property address, inspection date, inspector name, report type, and total photo count. Export as PDF, then use QuickyDesk's Merge PDF tool to place the cover page first, followed by the photo pages.
Organise Photos Before You Convert
A home inspection can produce dozens of phone photos. Dropping them into a PDF in random order makes the report hard to follow, so spend a moment arranging them first:
- Group by room or system — roof, exterior, kitchen, electrical, plumbing — so the report reads in a logical walk-through order.
- Lead each group with a wide shot, then follow with close-ups of any defects.
- Rename files with a number prefix (01, 02, 03…) so they import in the right sequence.
Because each image becomes one page, the order you upload is the order they appear. A well-ordered photo PDF is far easier for a buyer, agent, or contractor to act on than a loose camera roll.
Convert inspection photos to PDF now
Free, no account required, works on mobile browsers.
Convert Images to PDF →Mobile Inspection Documentation Workflow
For inspectors and property managers who work primarily from mobile devices:
- Take photos throughout the inspection, naming as you go
- At inspection completion, open Safari or Chrome on your phone
- Navigate to QuickyDesk's Image to PDF tool
- Select all photos from the camera roll
- Convert, download, and email the PDF before leaving the property
This produces a PDF with a creation timestamp at the exact time of the inspection — the strongest possible evidence of when documentation occurred. Before sharing the inspection report with the tenant or landlord, consider adding a watermark marking it as "FINAL" or specific to the inspection date to prevent unauthorized modifications.
QuickyDesk offers a complete free PDF toolkit — merge, split, compress, convert, protect, watermark, and more. No account required, no watermarks.
Frequently Asked Questions
Are timestamped inspection PDFs admissible in court for security deposit disputes?
Photo PDFs with embedded EXIF timestamps from smartphones are regularly accepted as evidence in small claims court and landlord-tenant proceedings. The embedded metadata establishes the photograph's authenticity.
The PDF is 200 MB and email won't send — what do I do?
After converting, run the result through QuickyDesk's Compress PDF tool. Inspection photos typically compress 70–80% with no visible quality loss at standard viewing sizes.
How many photos is too many for a property inspection PDF?
For a standard residential inspection, 40–80 photos covering all major systems is appropriate. Consider splitting by section using the Split PDF tool if the total exceeds 150 photos.