Paper receipts have a specific talent for disappearing. They fade in wallets, shred in pockets, get buried in bags, and disintegrate in the wash. The better approach is photographing receipts immediately, on the spot. A photo takes four seconds and survives indefinitely. The complication is what comes next: those photos end up scattered across your camera roll, forwarded through WhatsApp, buried in three different email threads. Turning that collection into an organized document is a separate problem from capturing it.
The Difference Between This and Merging Existing PDFs
If you already have your receipts as PDF files — downloaded invoices, emailed statements, or exported billing records — see our guide on combining PDF receipts for expense reports. This guide is for the earlier step: when your evidence is a set of photographs taken on a phone, and you need to convert that collection of images into a proper PDF first.
Getting the Photos Right Before You Convert
The quality of your final PDF depends almost entirely on the quality of the photos going in.
Flat surface, even light
Lay each receipt flat on a desk or table. Curved, crumpled, or wrinkled receipts create shadows that obscure amounts and merchant names. Natural light from a window works best. Overhead lighting creates a bright spot in the center and leaves the edges in shadow.
Frame the receipt fully, with a small border
Position the camera so the entire receipt is visible with a small margin of background around it. Cutting off the edges in the photo will cut off that content permanently.
Tap to focus before shooting
Tap the camera screen directly on the text before taking the photo. This tells the autofocus to lock on the receipt content rather than the background.
Check each photo immediately
After each shot, zoom in and verify the total amount and merchant name are sharp. Retake on the spot rather than discovering the problem later.
Organizing Before You Convert
Group by time period
For monthly expense reports, collect only that month's receipts. For tax season, sort by quarter.
Rename photos before uploading
Before uploading, rename each photo to something meaningful: 2026-05-12_dinner_client_meeting.jpg or May26_hotel_chicago.jpg. This naming carries into the PDF structure and makes navigation far easier.
Decide on chronological or categorical order
For standard expense reports, chronological order (earliest receipt first) is the norm. For project-based billing, organizing by expense category can be more useful.
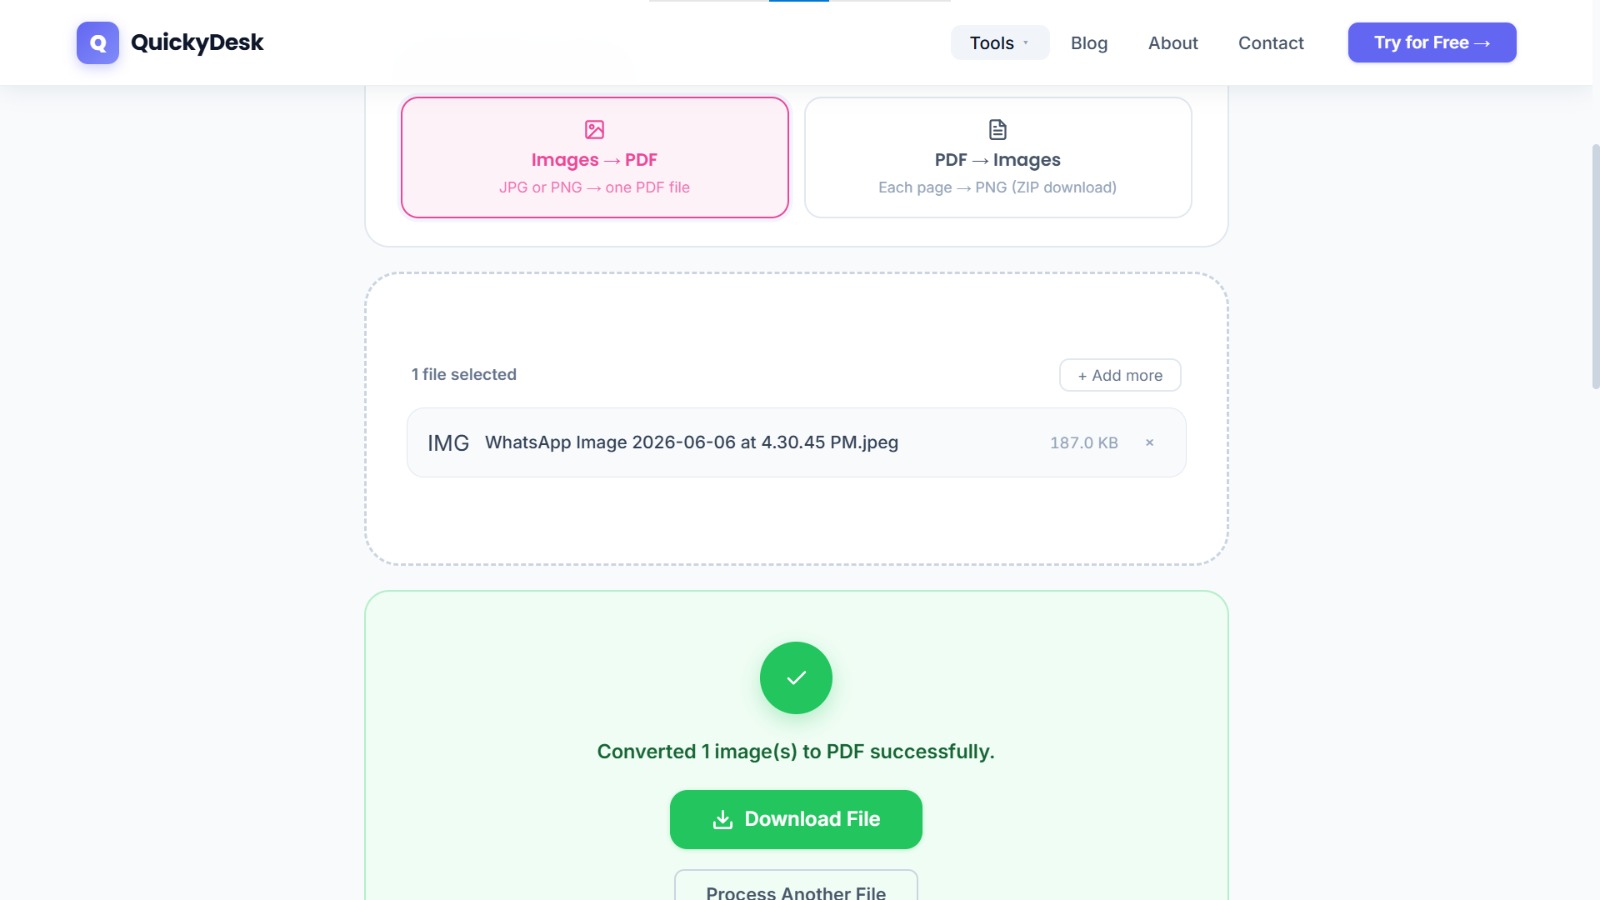
Converting Photos to PDF Using QuickyDesk
- Open the Image to PDF tool from QuickyDesk.
- Upload your receipt photos. You can select multiple files at once. The tool accepts both JPG and PNG formats.
- Review the page order in the upload queue. Confirm receipts appear in the sequence you intended. Drag files to reposition them if needed.
- Convert the images to PDF. Processing typically completes in under 30 seconds even for a large batch.
- Download your receipt PDF and do a quick visual check. Zoom in on a few receipts and confirm amounts and merchant names are clearly readable.
Turn your receipt photos into a PDF
Free, no login required. JPG and PNG photos accepted.
Image to PDF Free →What to Do With the PDF Once It's Ready
- For expense reimbursement: Attach the PDF to your expense report or upload it to your company's expense management system.
- For freelance client billing: Attach the PDF to your invoice as supporting documentation.
- For tax purposes: Keep the PDF in a dedicated folder organized by year and category —
2025_Q4_Business_Travel_Receipts.pdf. - For size management: If your receipt PDF is large, run it through QuickyDesk's Compress PDF tool before attaching or uploading.
- For sensitive submissions: If your receipts include partial card numbers or personal data, consider password-protecting the PDF before emailing it to your employer or accountant.
QuickyDesk offers a complete free PDF toolkit — merge, split, compress, convert, protect, watermark, and more. No account required, no watermarks.
FAQ
Can I mix photos from different phones or cameras in one PDF?
Yes. As long as the files are JPG or PNG, it doesn't matter which device captured them. Upload them all together, arrange in order, and convert.
My receipt photos include partial card numbers. Is it safe to upload them?
The upload connection is encrypted, and QuickyDesk doesn't require you to create an account. Your images are handled during conversion and not retained after your session ends.
Some of my receipts are PDFs already, and some are photos. Can I combine them in one step?
Not in a single step. Convert your photos to PDF first using the Image to PDF tool, then merge that PDF with your existing receipt PDFs using the Merge PDF tool.
The receipt text is blurry when I zoom in. What went wrong?
The source photo was captured out of focus or at too low a resolution. PDF conversion doesn't improve image sharpness — it preserves exactly what was in the original photo.
Is there a limit to how many receipt photos I can combine?
There's no fixed page limit. For very large batches, the conversion may take slightly longer. If the resulting PDF is very large, use the compressor afterward to bring the size down.